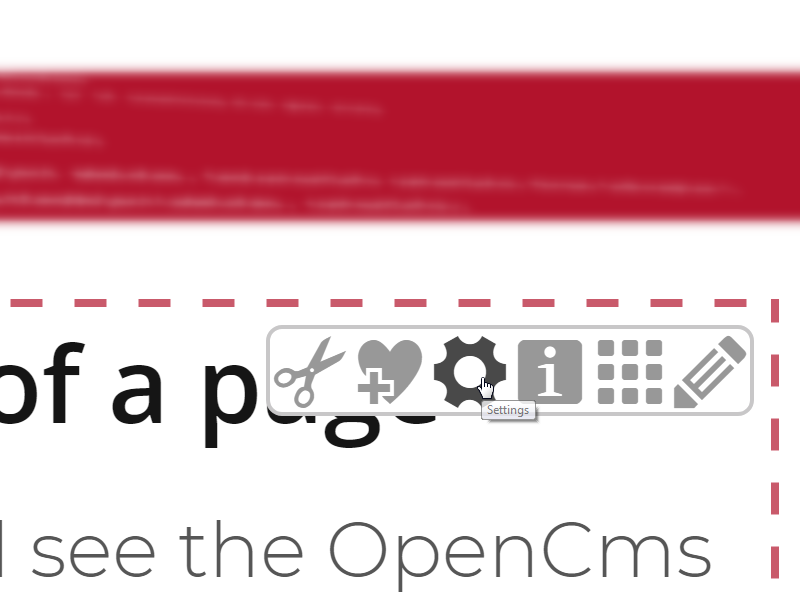
If you are logged in you will see the OpenCms editor toolbar on top of the screen. The toolbar allows you to directly edit the page you are currently viewing.
Now let's add some content to this page
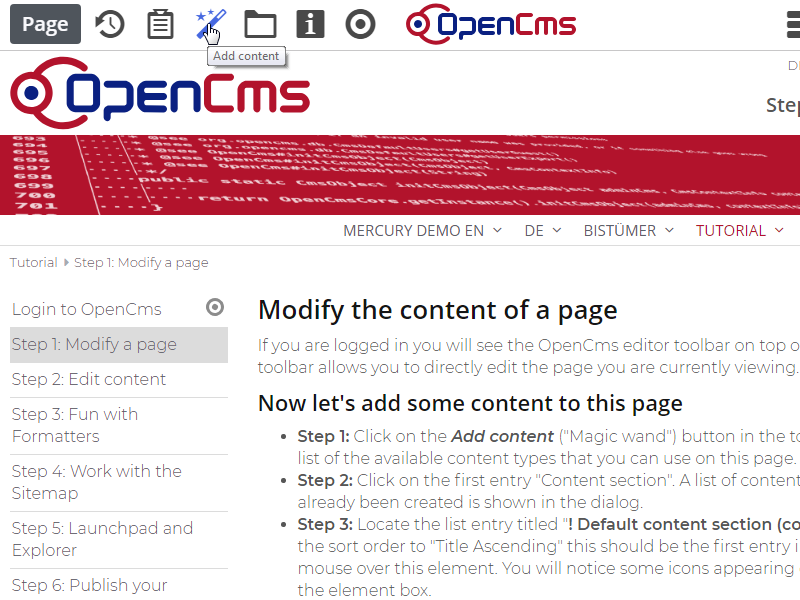
- Step 1: Click on the Add content ("Magic wand") button in the toolbar. You will see a list of the available content types that you can use on this page.
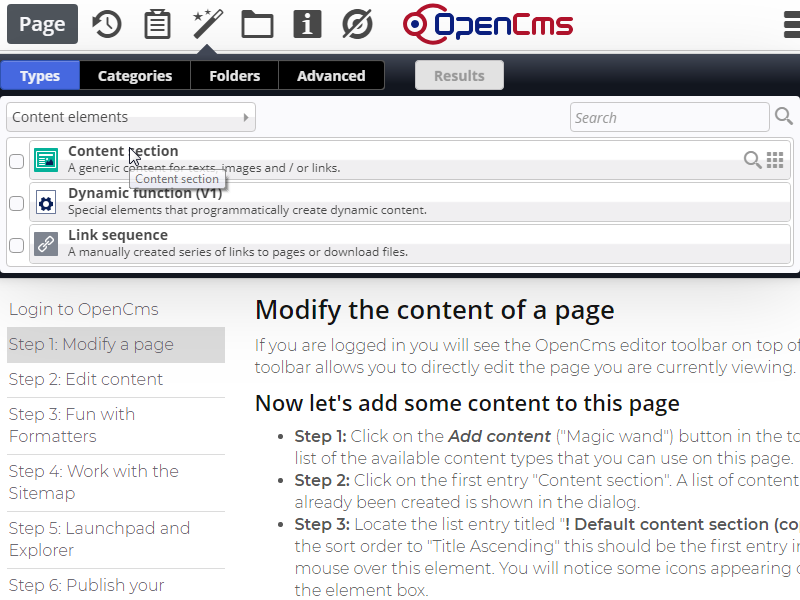
- Step 2: Click on the first entry "Content section". A list of content sections that have already been created is shown in the dialog.
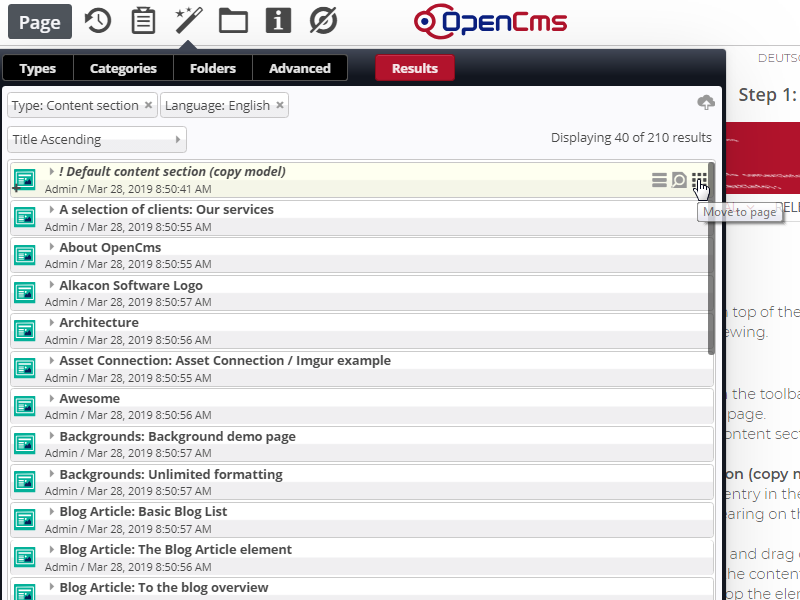
- Step 3: Locate the list entry titled "! Default content section (copy model)". If you set the sort order to "Title Ascending" this should be the first entry in the list. Move the mouse over this element. You will notice some icons appearing on the right side of the element box.
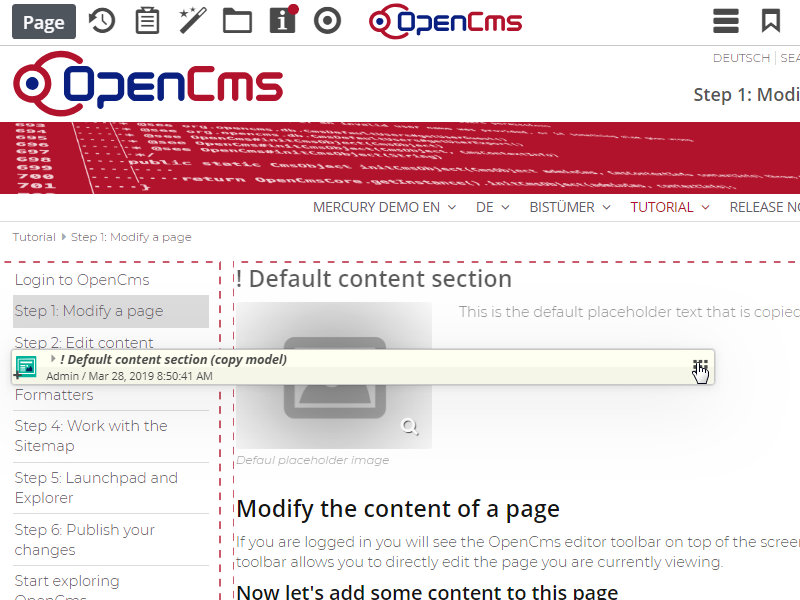
- Step 4: Move the cursor over the Move to page icon, click and drag one element into the page. Possible target areas will be highlighted. Place the content anywhere you like, for example right below this paragraph. When you drop the element you should see the new contents placeholder text and image.

